How to Document a Community Art Project for Your Portfolio
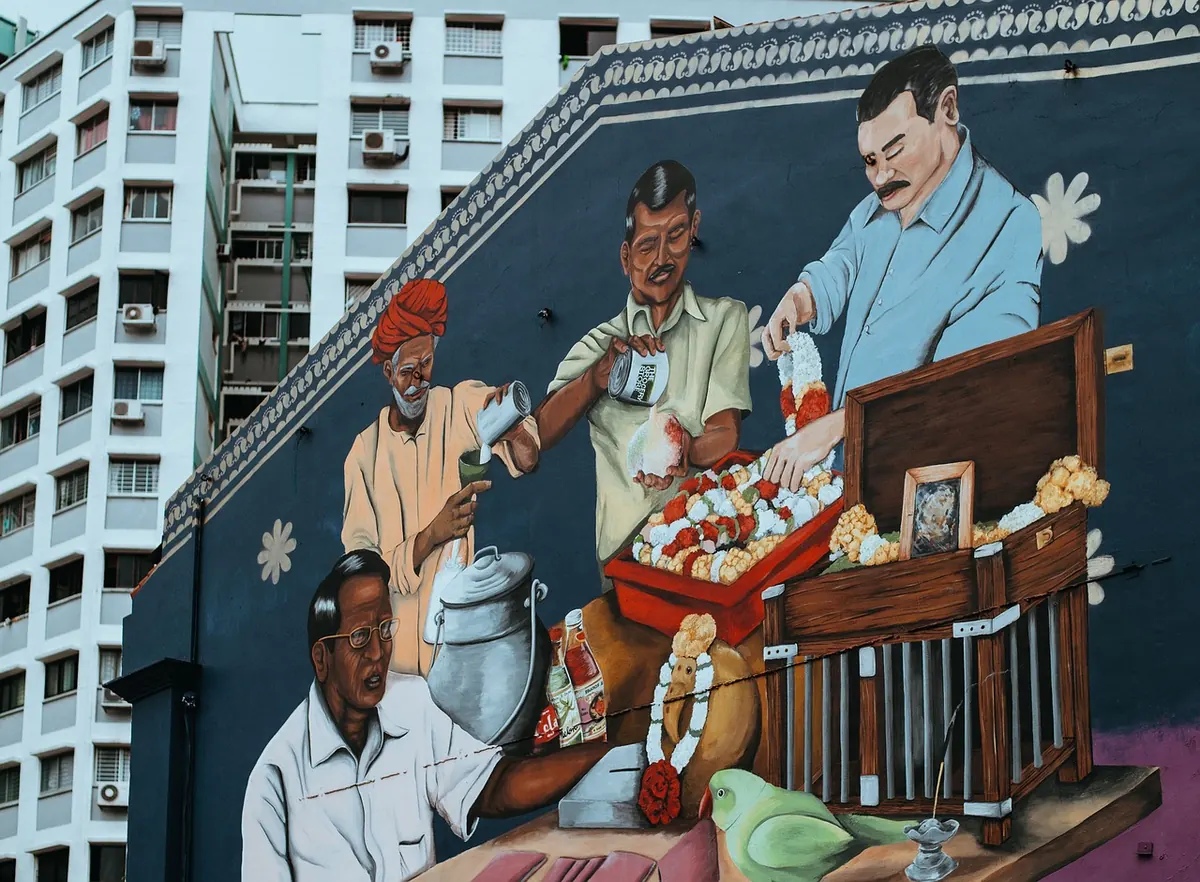
Community projects are generous with time and stingy with evidence. You spend six weeks painting a mural with a youth group, someone's aunt makes a cake for the launch, and afterwards your camera roll holds eleven blurry pictures and a close-up of a paint tin. Then a commissioner asks to see the project, and you have nothing to send.
Documenting as you go solves most of this. It takes about twenty minutes a session, and it turns a fond memory into a case study you can actually show. Here's how to do it without becoming a photographer instead of a facilitator.
Decide what the case study needs to prove
Before the first session, write down the story you want to tell at the end. Not the whole project — the arc. Who was involved, what you set out to make, what got in the way, what the finished thing looked like, and what you learned. That list tells you what to collect while the project is live.
Set up one folder on your computer or in cloud storage, separate from your general work files, and name it something searchable: 2025 Riverside Mural. Inside it, keep three subfolders: process, final images, paperwork. Anything you gather goes into one of those the same day.
If you're facilitating, you can't photograph and teach at the same time. Ask a participant, volunteer or colleague to be the documenter for specific sessions, and give them a short brief — three shots and a bit of video is plenty.
Capture the process, not just the finished piece
The finished mural is one image. The process is the story: hands mixing colour, a sketch taped to a wall, someone standing back to squint at a wonky line, the floor covered in offcuts.
Aim for a small, repeatable set of shots at every session:
- A wide shot of the whole room or site — the same angle each time if you can, so the changes stack up.
- One detail: a texture, a tool, a half-finished section.
- One person making something, with their permission and their face visible.
- Three sentences of notes in your phone: date, who was there, what changed, anything funny or difficult.
Short video is worth the effort. Fifteen seconds of ambient sound — chatter, brushes, a kettle — does more for a commissioning panel than a slick edit with music over it. Vertical clips will work on social media later; horizontal ones sit better in a portfolio grid, so shoot both if you're unsure.
Photographing people with care
People are the point of a community project, so they should be in the pictures. But consent isn't a formality, and it isn't permanent. Ask before you photograph, explain where the images will go, and accept a no without negotiation.
For anyone under 18, you need written permission from a parent or carer. Group shots don't sidestep this — if a child is identifiable, the same rules apply. Take similar care with adults who may lack capacity to consent, and ask the partner organisation how they handle it.
A few practical steps save a lot of grief later:
- Put a photography and filming line on your sign-in sheet, with a yes/no box and space for a signature.
- Ask at the start of the project, not on the last day when everyone's tired.
- Take down the contact details of whoever signed, so you can reach them if needed.
- Keep a note of anyone who asked not to be photographed, and brief anyone helping you.
- Never publish an image of someone you can't match to a signed form.
If you're unsure what's required — particularly around data protection, consent for children, or using images commercially — check with the partner organisation first. They will usually have a policy and a person responsible for it, and their rules take precedence over yours. For anything beyond that, take proper advice.
Sort permissions before you publish
There is more paperwork in a community project than most people expect, and it's much easier to gather while goodwill is fresh. As well as participant consent, you may need:
- Written agreement from the venue to photograph and publish images of the building or site.
- Sign-off from partner organisations on how they're named and described.
- Permission to use their logo, plus the file in the right format.
- Confirmation of any funder acknowledgement requirements — some specify wording or logo placement.
- A licence for any music used in a film, even if it's only playing in the background.
Keep a simple spreadsheet with one row per image or clip: filename, who's in it, consent status, where it's been used. Half an hour to set up, and it will save you an afternoon of scrolling through emails the next time someone asks.
Write it up while the details are still sharp
Don't wait until the project ends. Write 200 words the week after the final session covering what happened and how it felt, then shape it later. A workable structure for a portfolio case study:
- Context — where, when, who with, and what the brief asked for.
- Approach — how you worked, and why you made the choices you did.
- What happened — the outcome in plain language, with accurate numbers if you have them.
- Reflection — one thing that went wrong and what you did about it.
- Credits — participants by first name with permission, partners, funders, photographer.
Four hundred to seven hundred words is usually enough. Lead with your strongest image, keep captions specific ("Saturday session, week three" beats "workshop"), and resist the urge to describe everything. Two or three well-chosen images per idea read better than a gallery of twenty.
A routine that keeps it manageable
Documentation fails when it's treated as a job for the end. Build these habits in instead:
- Before the project starts: create the folder, write the story outline, print consent forms.
- Every session: three photos, fifteen seconds of video, three sentences of notes.
- Same day: move files into the folder and label them with the date.
- Weekly: update the permissions spreadsheet while you still remember who's who.
- At the end: write the draft while the project is fresh, then edit it a fortnight later with a clear head.
Do that and you'll finish with more than a record of what you made. You'll have proof of how you work with people — which, for community projects, is usually the part commissioners and course tutors most want to see.
Photo: StockSnap / Pixabay